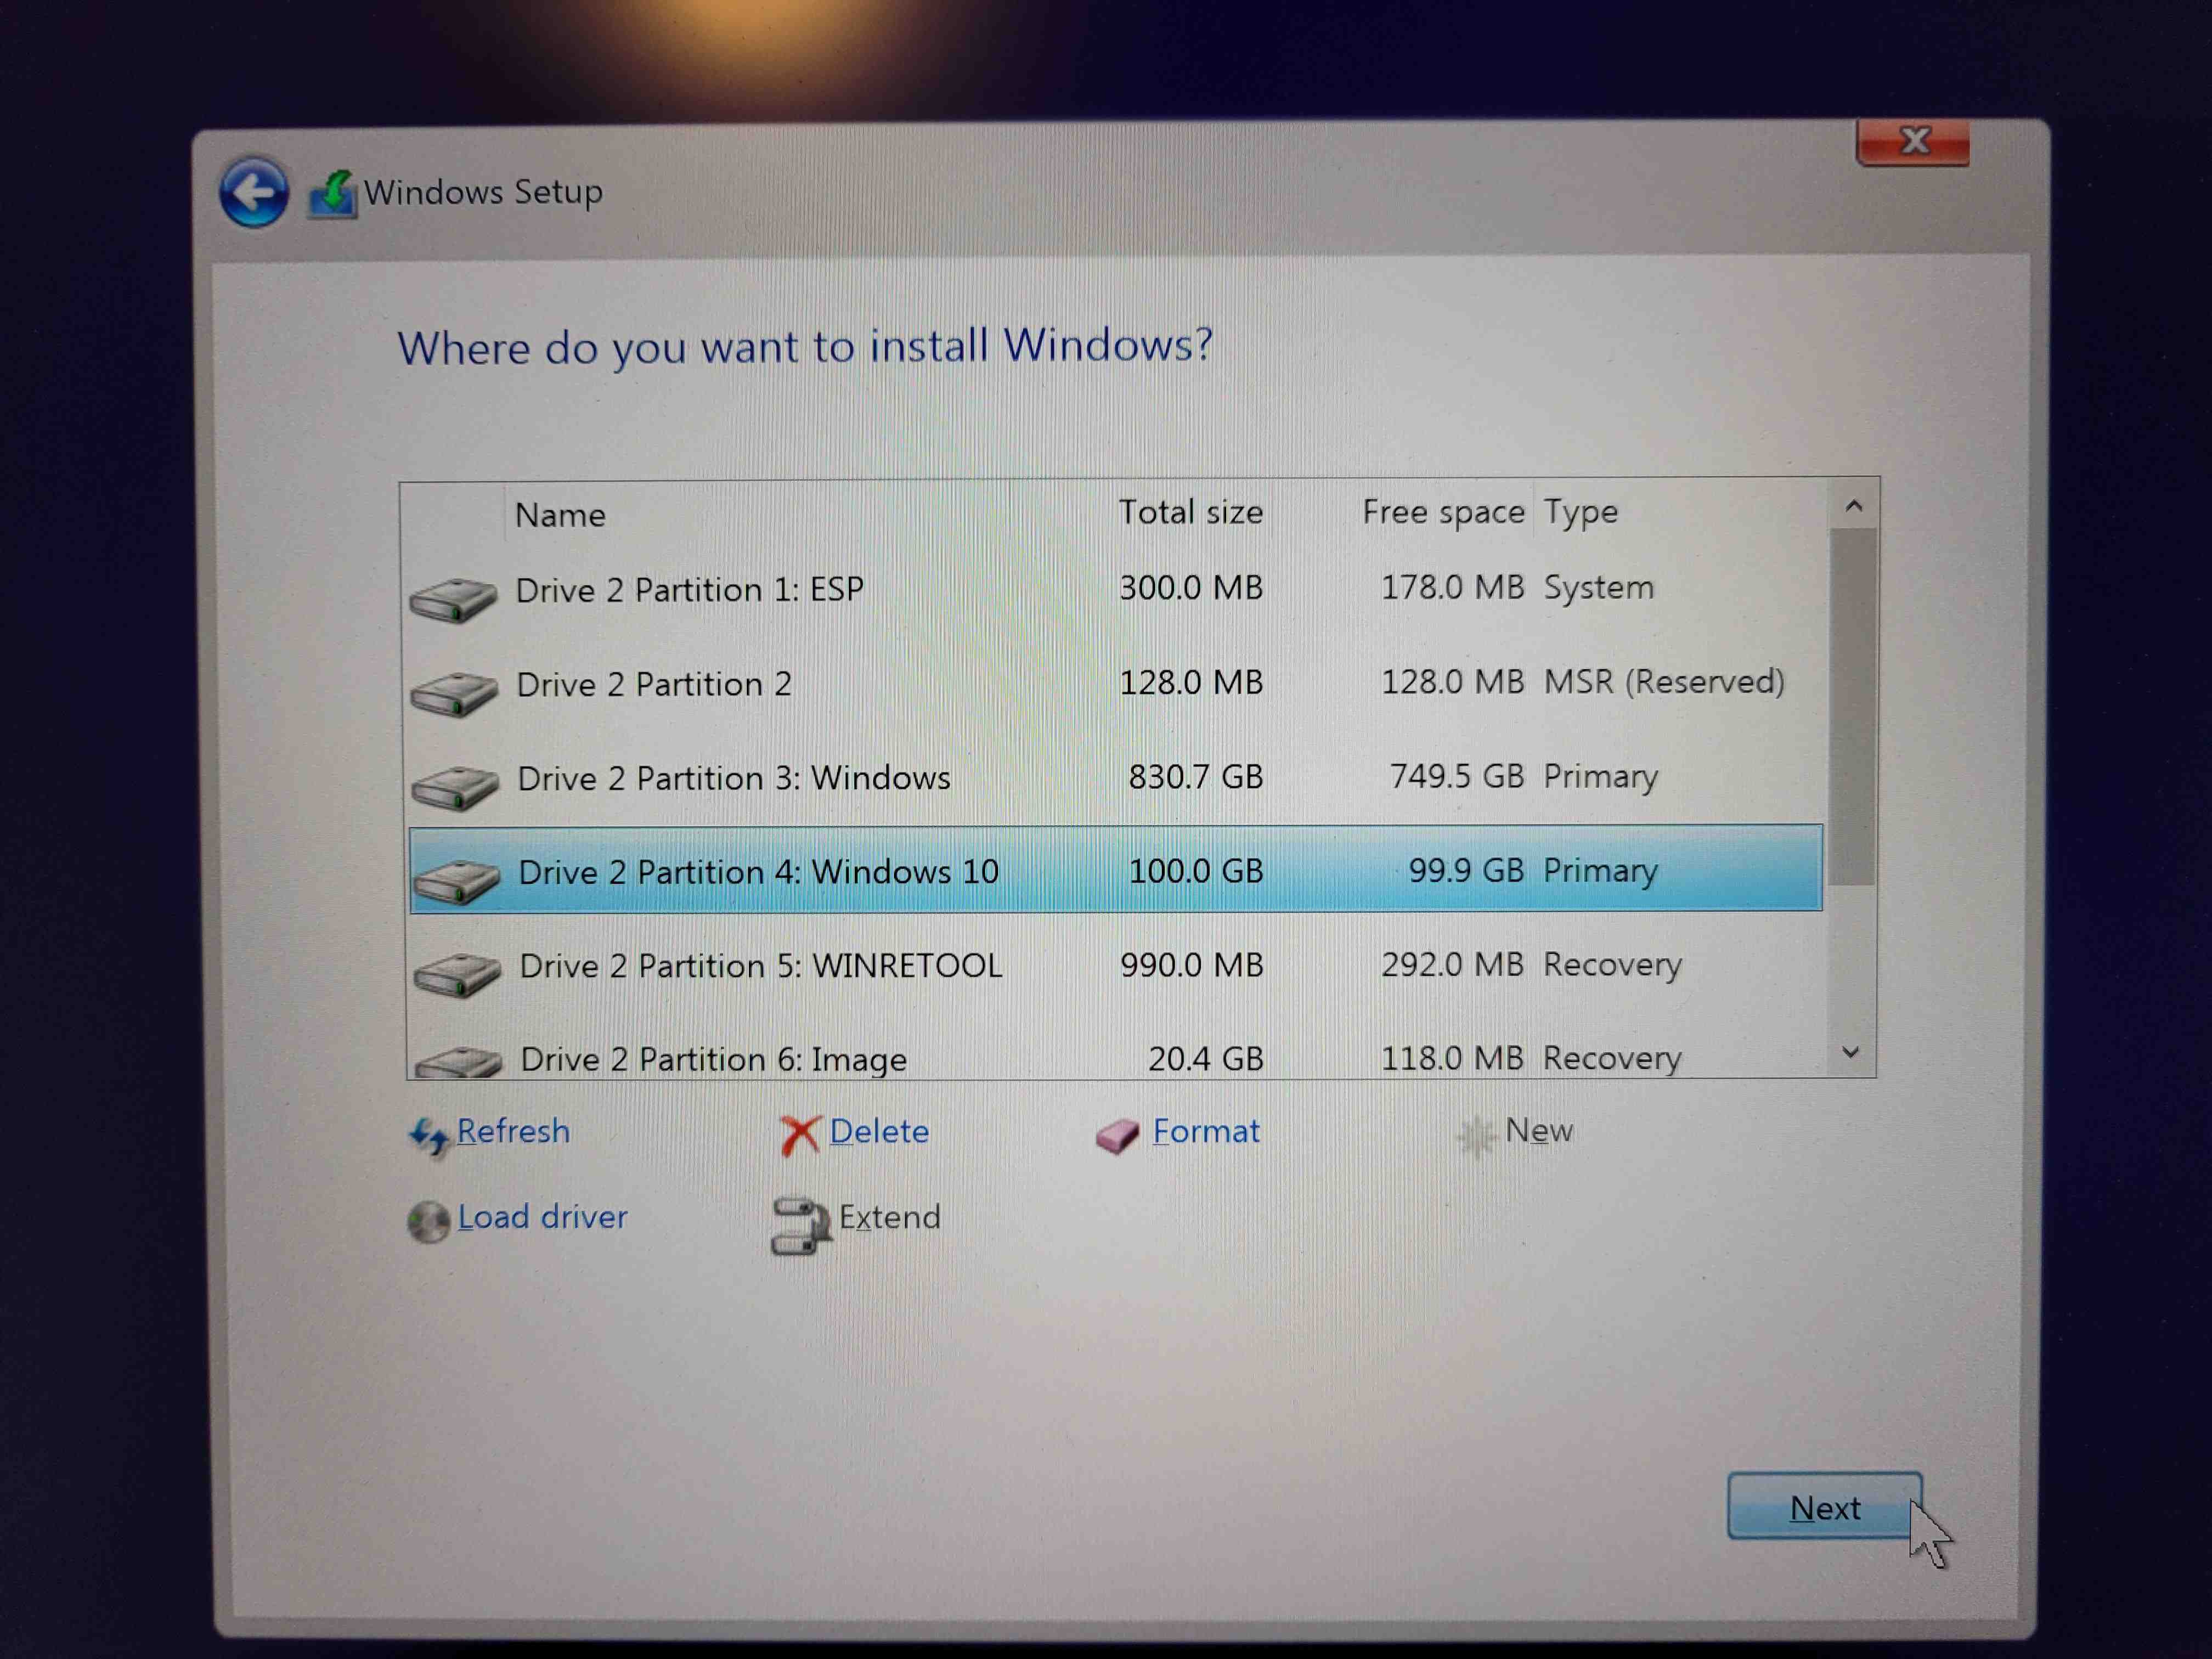

Fix internal NVMe drives not showing up in Windows Setup on Intel 11th generation and higher CPU's
Starting with Intel 11th generation CPU's a new feature is incorporated into Intel Rapid Storage Technology, known as Intel VMD (Volume Management Device). Currently, the Windows Setup does not support this technology out-of-the-box, meaning that the internal drive will likely not be detected when you try to install Windows. This issue only occurs on PC's that use internal NVMe (PCIe) drives as the primary boot device.
To fix this, you'll need to download and install the Intel RST driver within Windows Setup through the "Load Driver" interface:
1. Go to this Intel support page and download the SetupRST.exe file to any folder (the web browser will typically default to putting downloaded files in the "Downloads" folder)
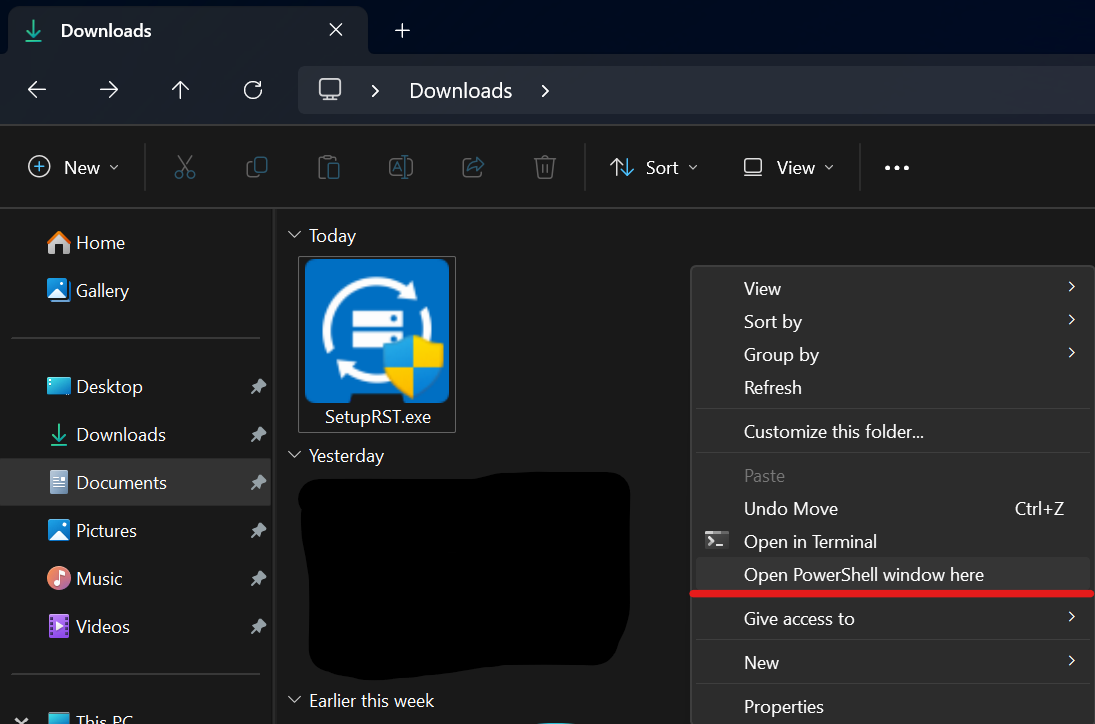
2. Open the folder the downloaded SetupRST.exe file is contained in (NOT the .exe itself).
3. Press and hold Ctrl + Shift on the keyboard, and right click on a blank area in File Explorer.
4. Click Open PowerShell window here (the option might be Open Command Prompt window or Open in Terminal instead, but the next step will work in either terminal app).
5. Type or copy and paste the following command into the PowerShell or Command Prompt window that opens:
./SetupRST.exe -extractdrivers SetupRST_extracted
NOTE: If you're running the above command through the Windows Command Prompt, you'll need to omit the ./ at the beginning of the command otherwise it will not run.
6. Click Yes on the User Account Control prompt that opens.
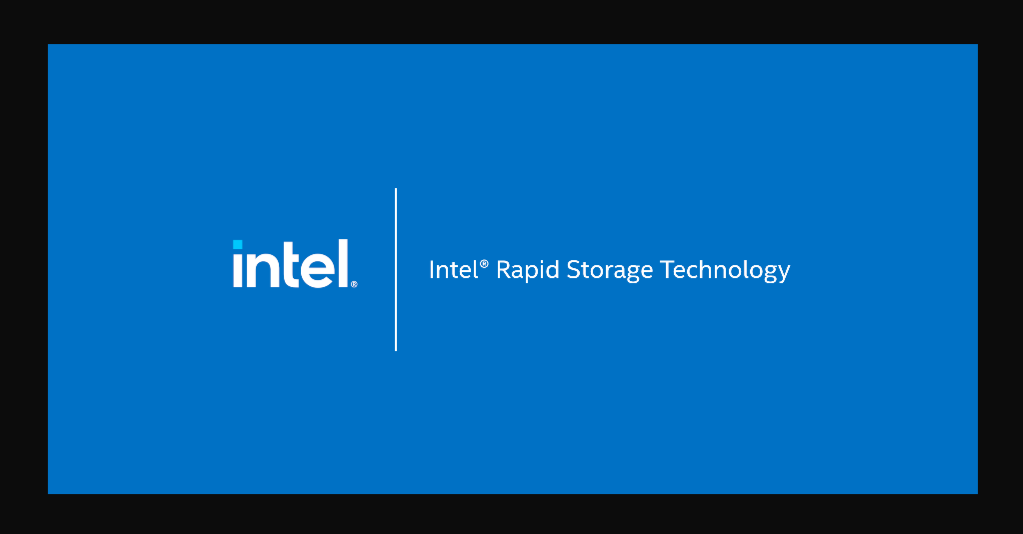
You may see an Intel Rapid Storage Technology installation splash screen open. This is normal and the driver extraction process happens in the background. It may take a few moments to finish.
The installation splash screen closes automatically when the extraction process finishes.
The extracted files will be in a folder that is put into the same directory the SetupRST.exe file is located. It will be named SetupRST_extracted.
7. Copy and paste the SetupRST_extracted folder to the root of USB drive you are using to install Windows.
8. Boot into the Windows Setup on the USB drive as you normally would.
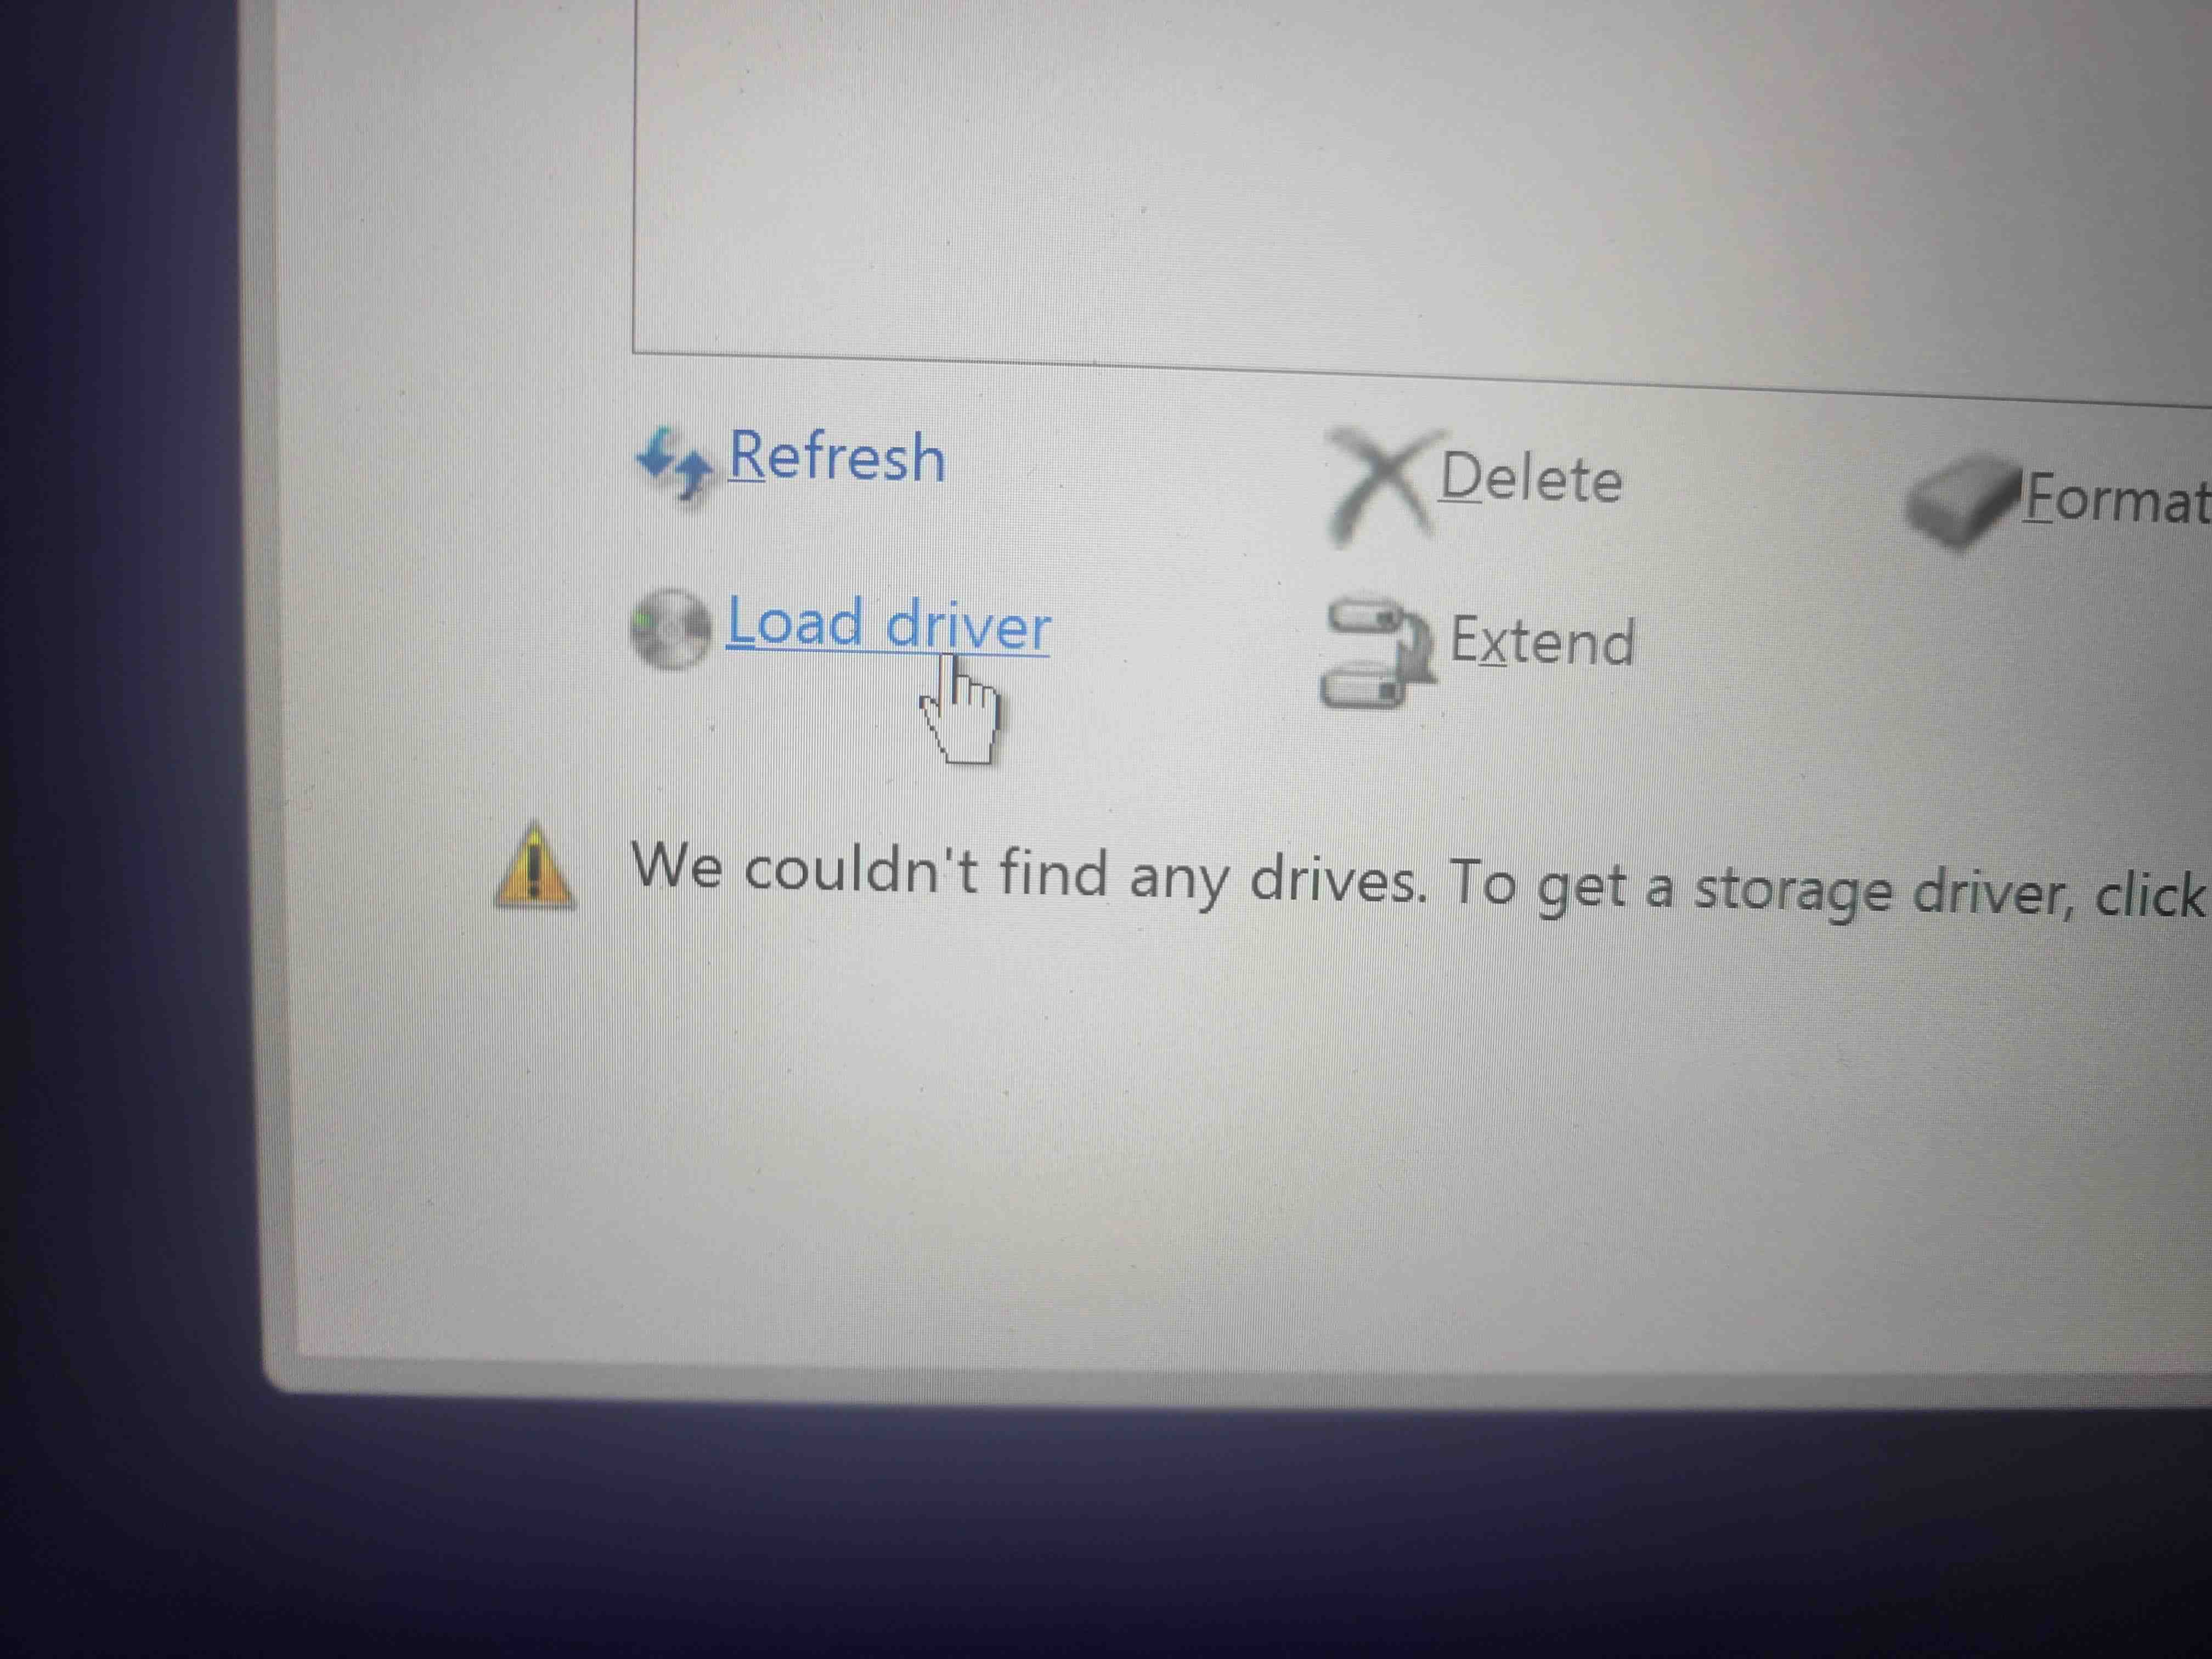
9. Go through the setup, and when you get to the screen that asks you to select which drive you want to install Windows on, click Load Driver.
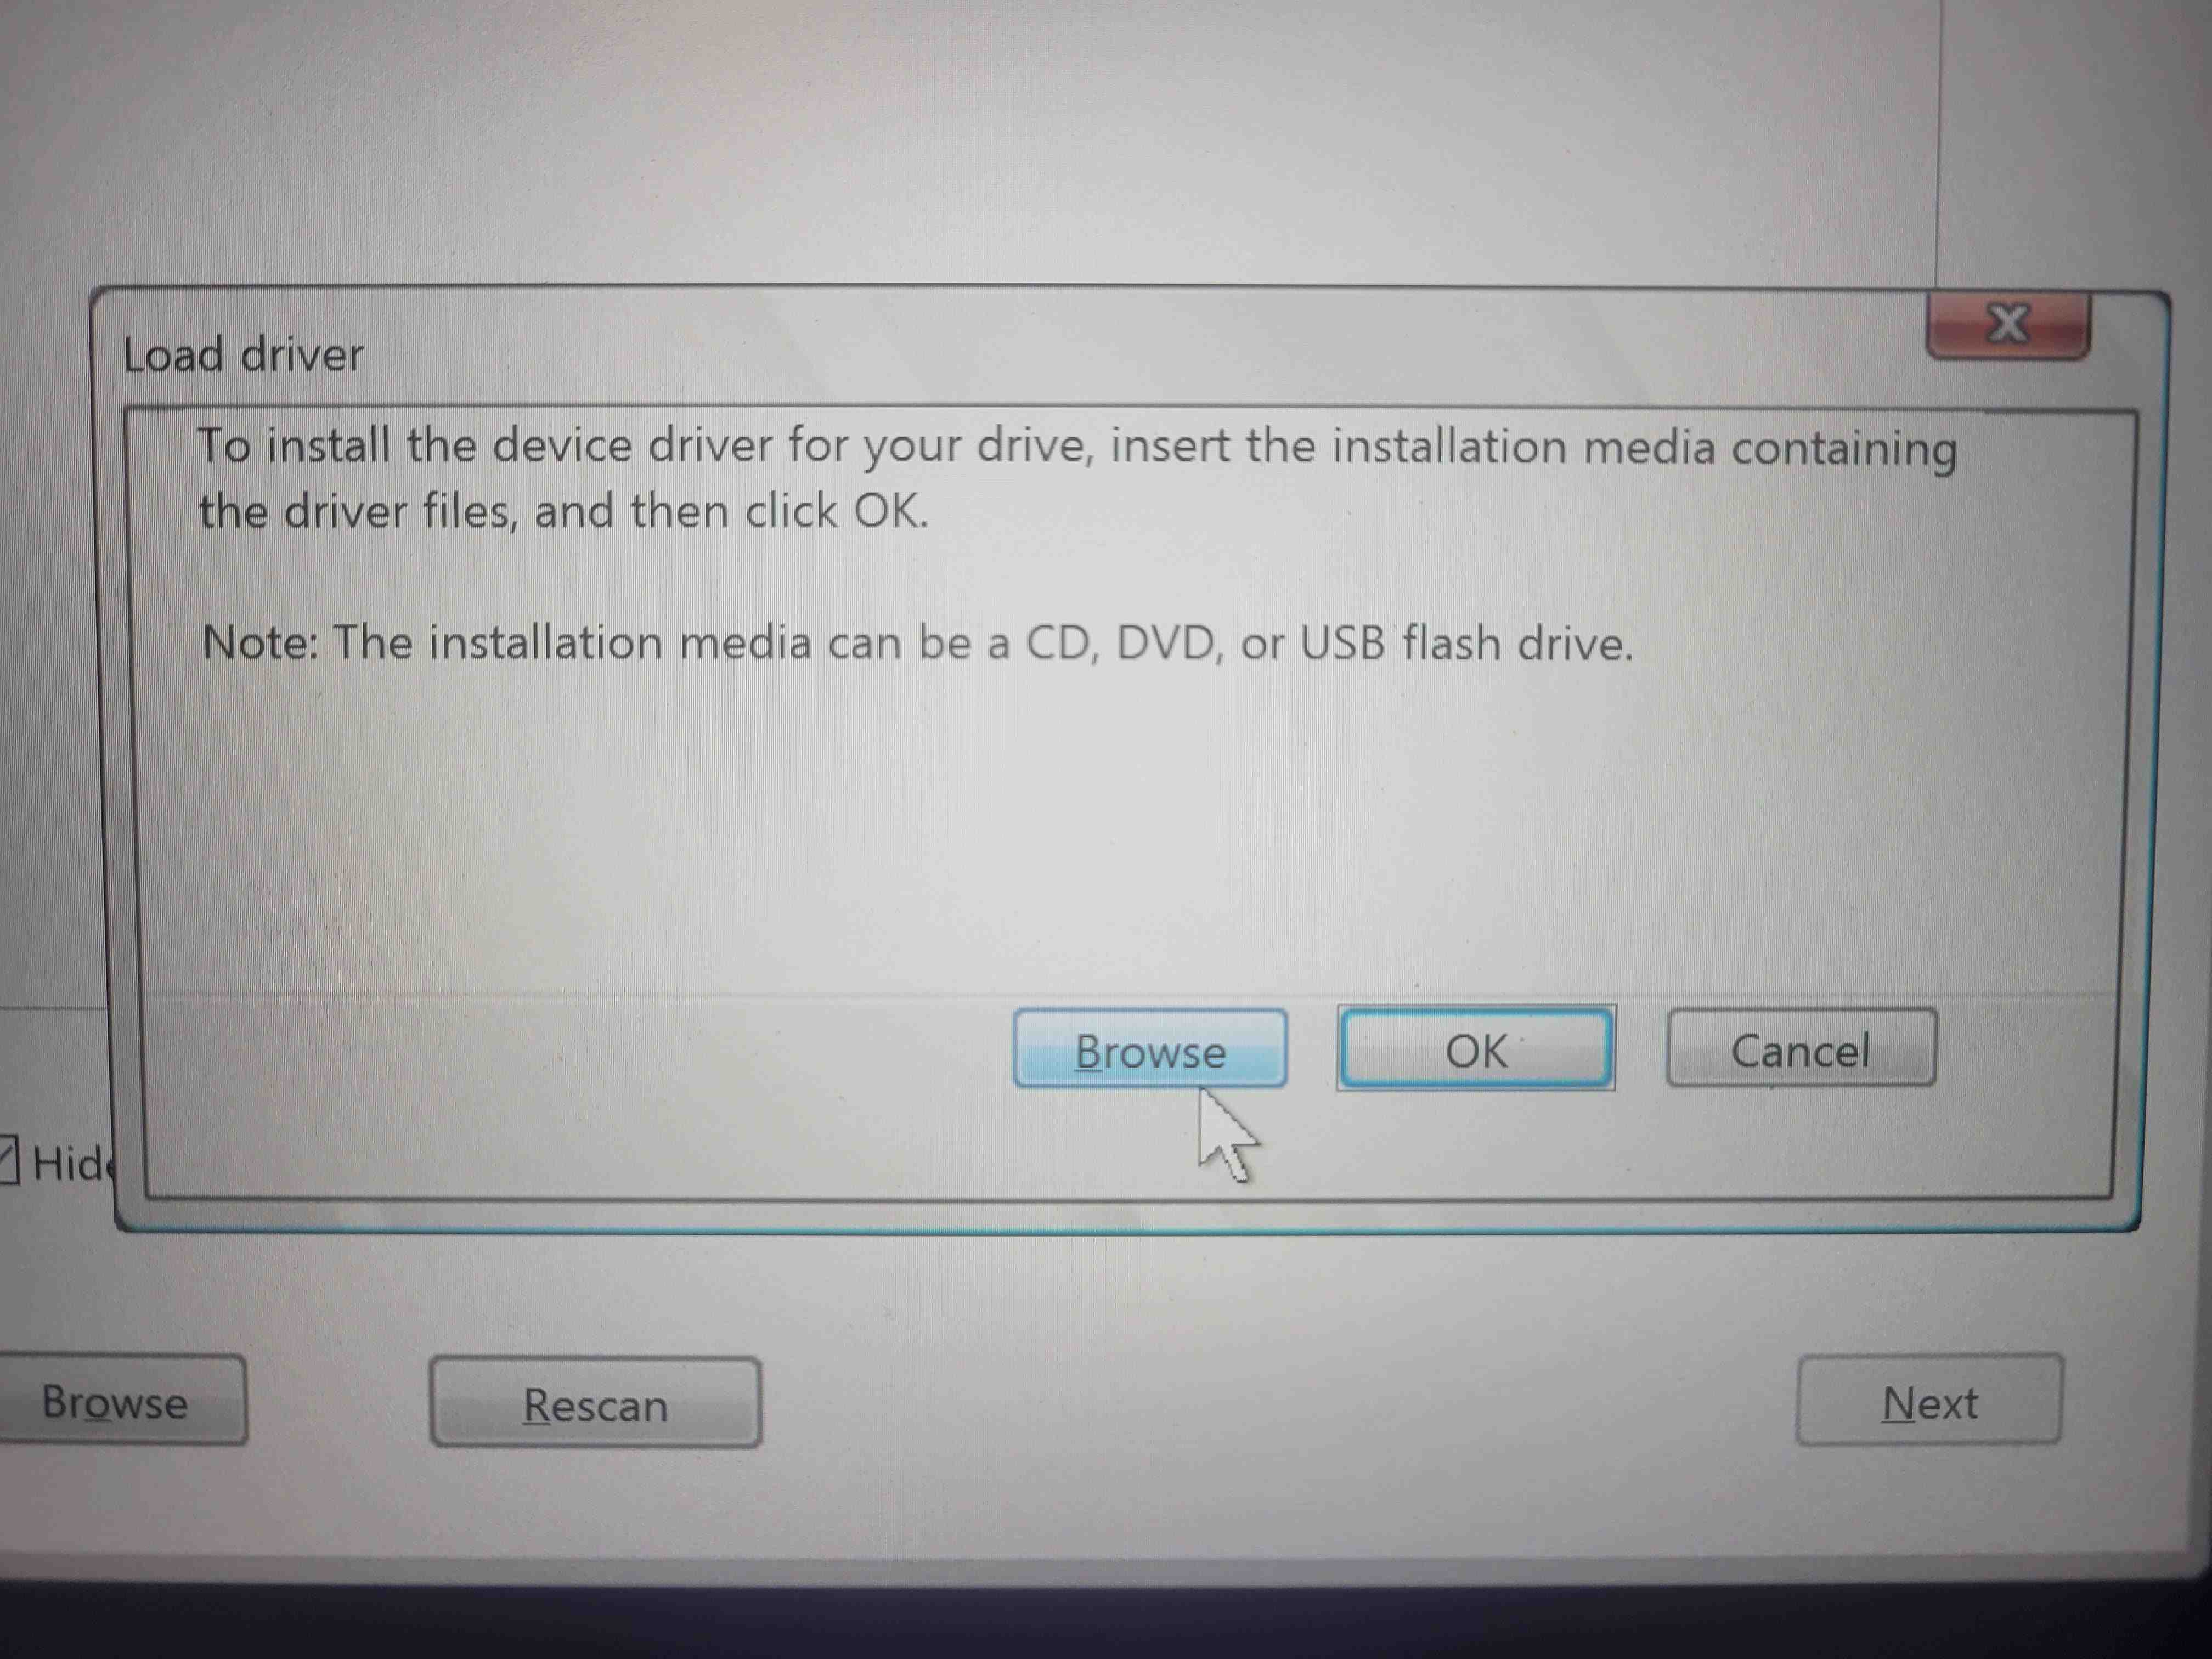
10. A message will appear asking to look for driver installation media, click Browse to manually locate the drivers you downloaded earlier.
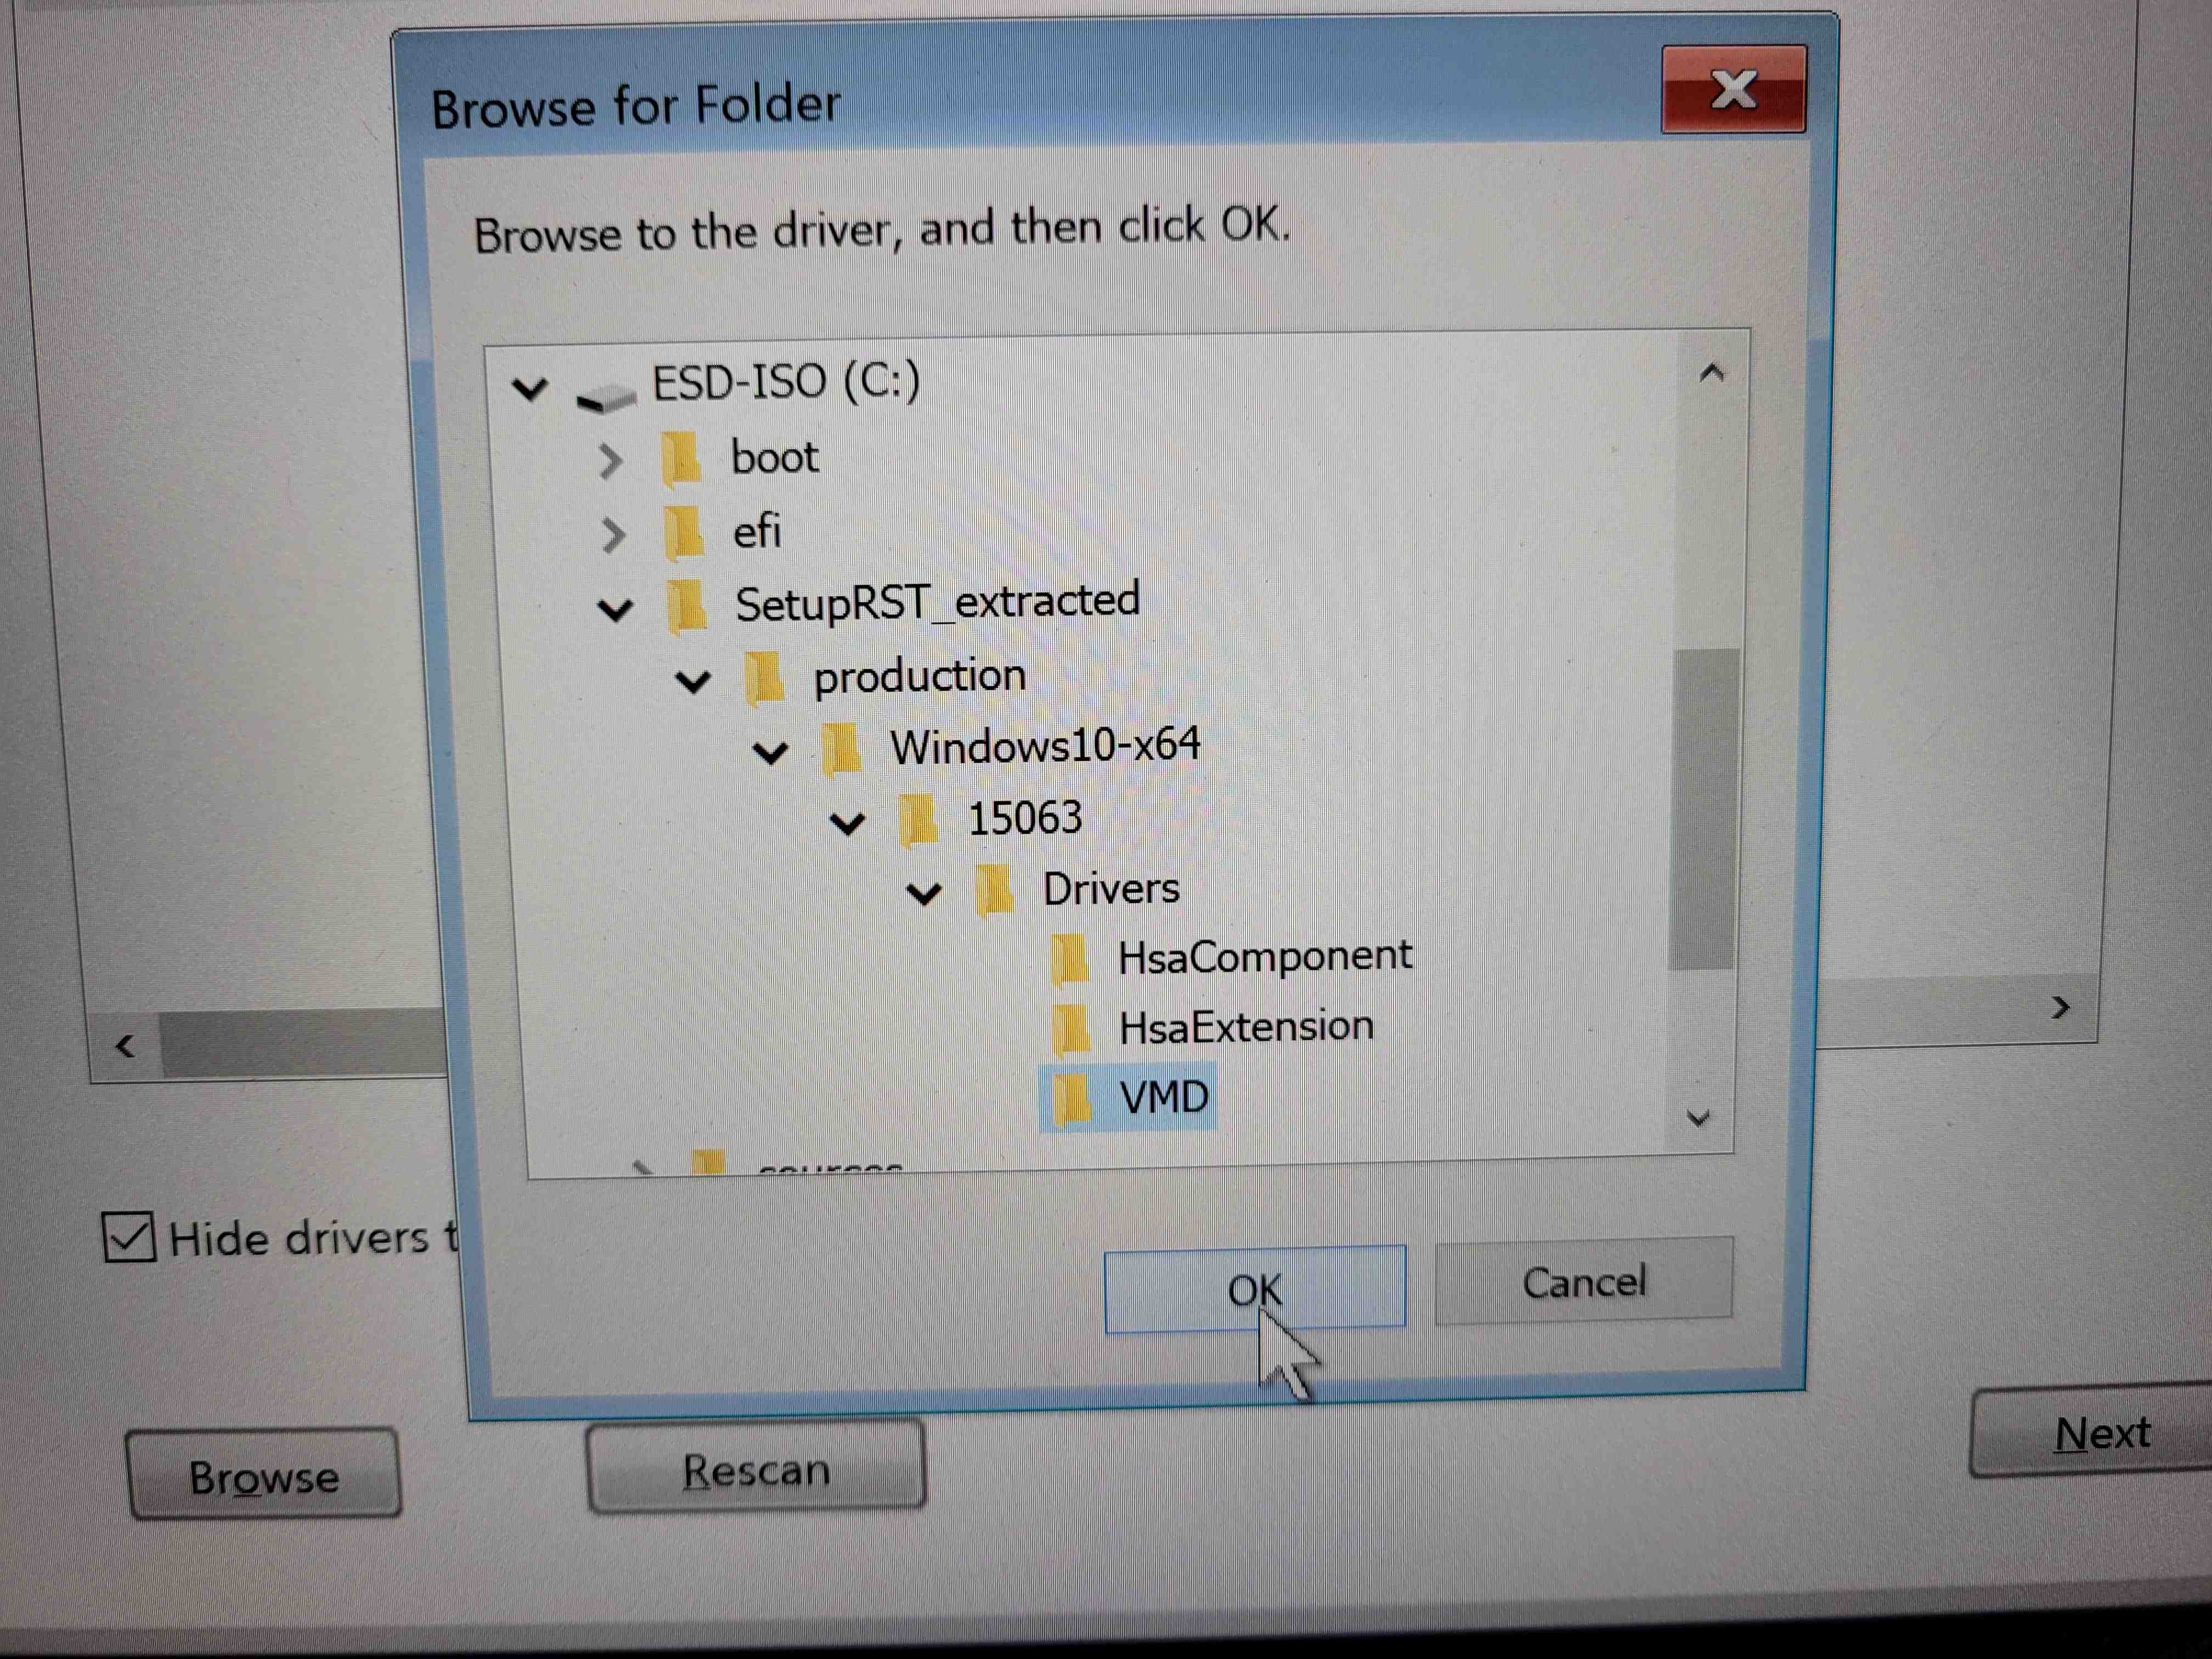
11. Navigate to the VMD folder located in SetupRST_extracted > production > Windows10-x64 > 15063 > Drivers on the USB drive and select it. Assuming the SetupRST_extracted folder was put into the root of the USB drive, it should be located in the first directory under the USB drive.
12. Click OK.
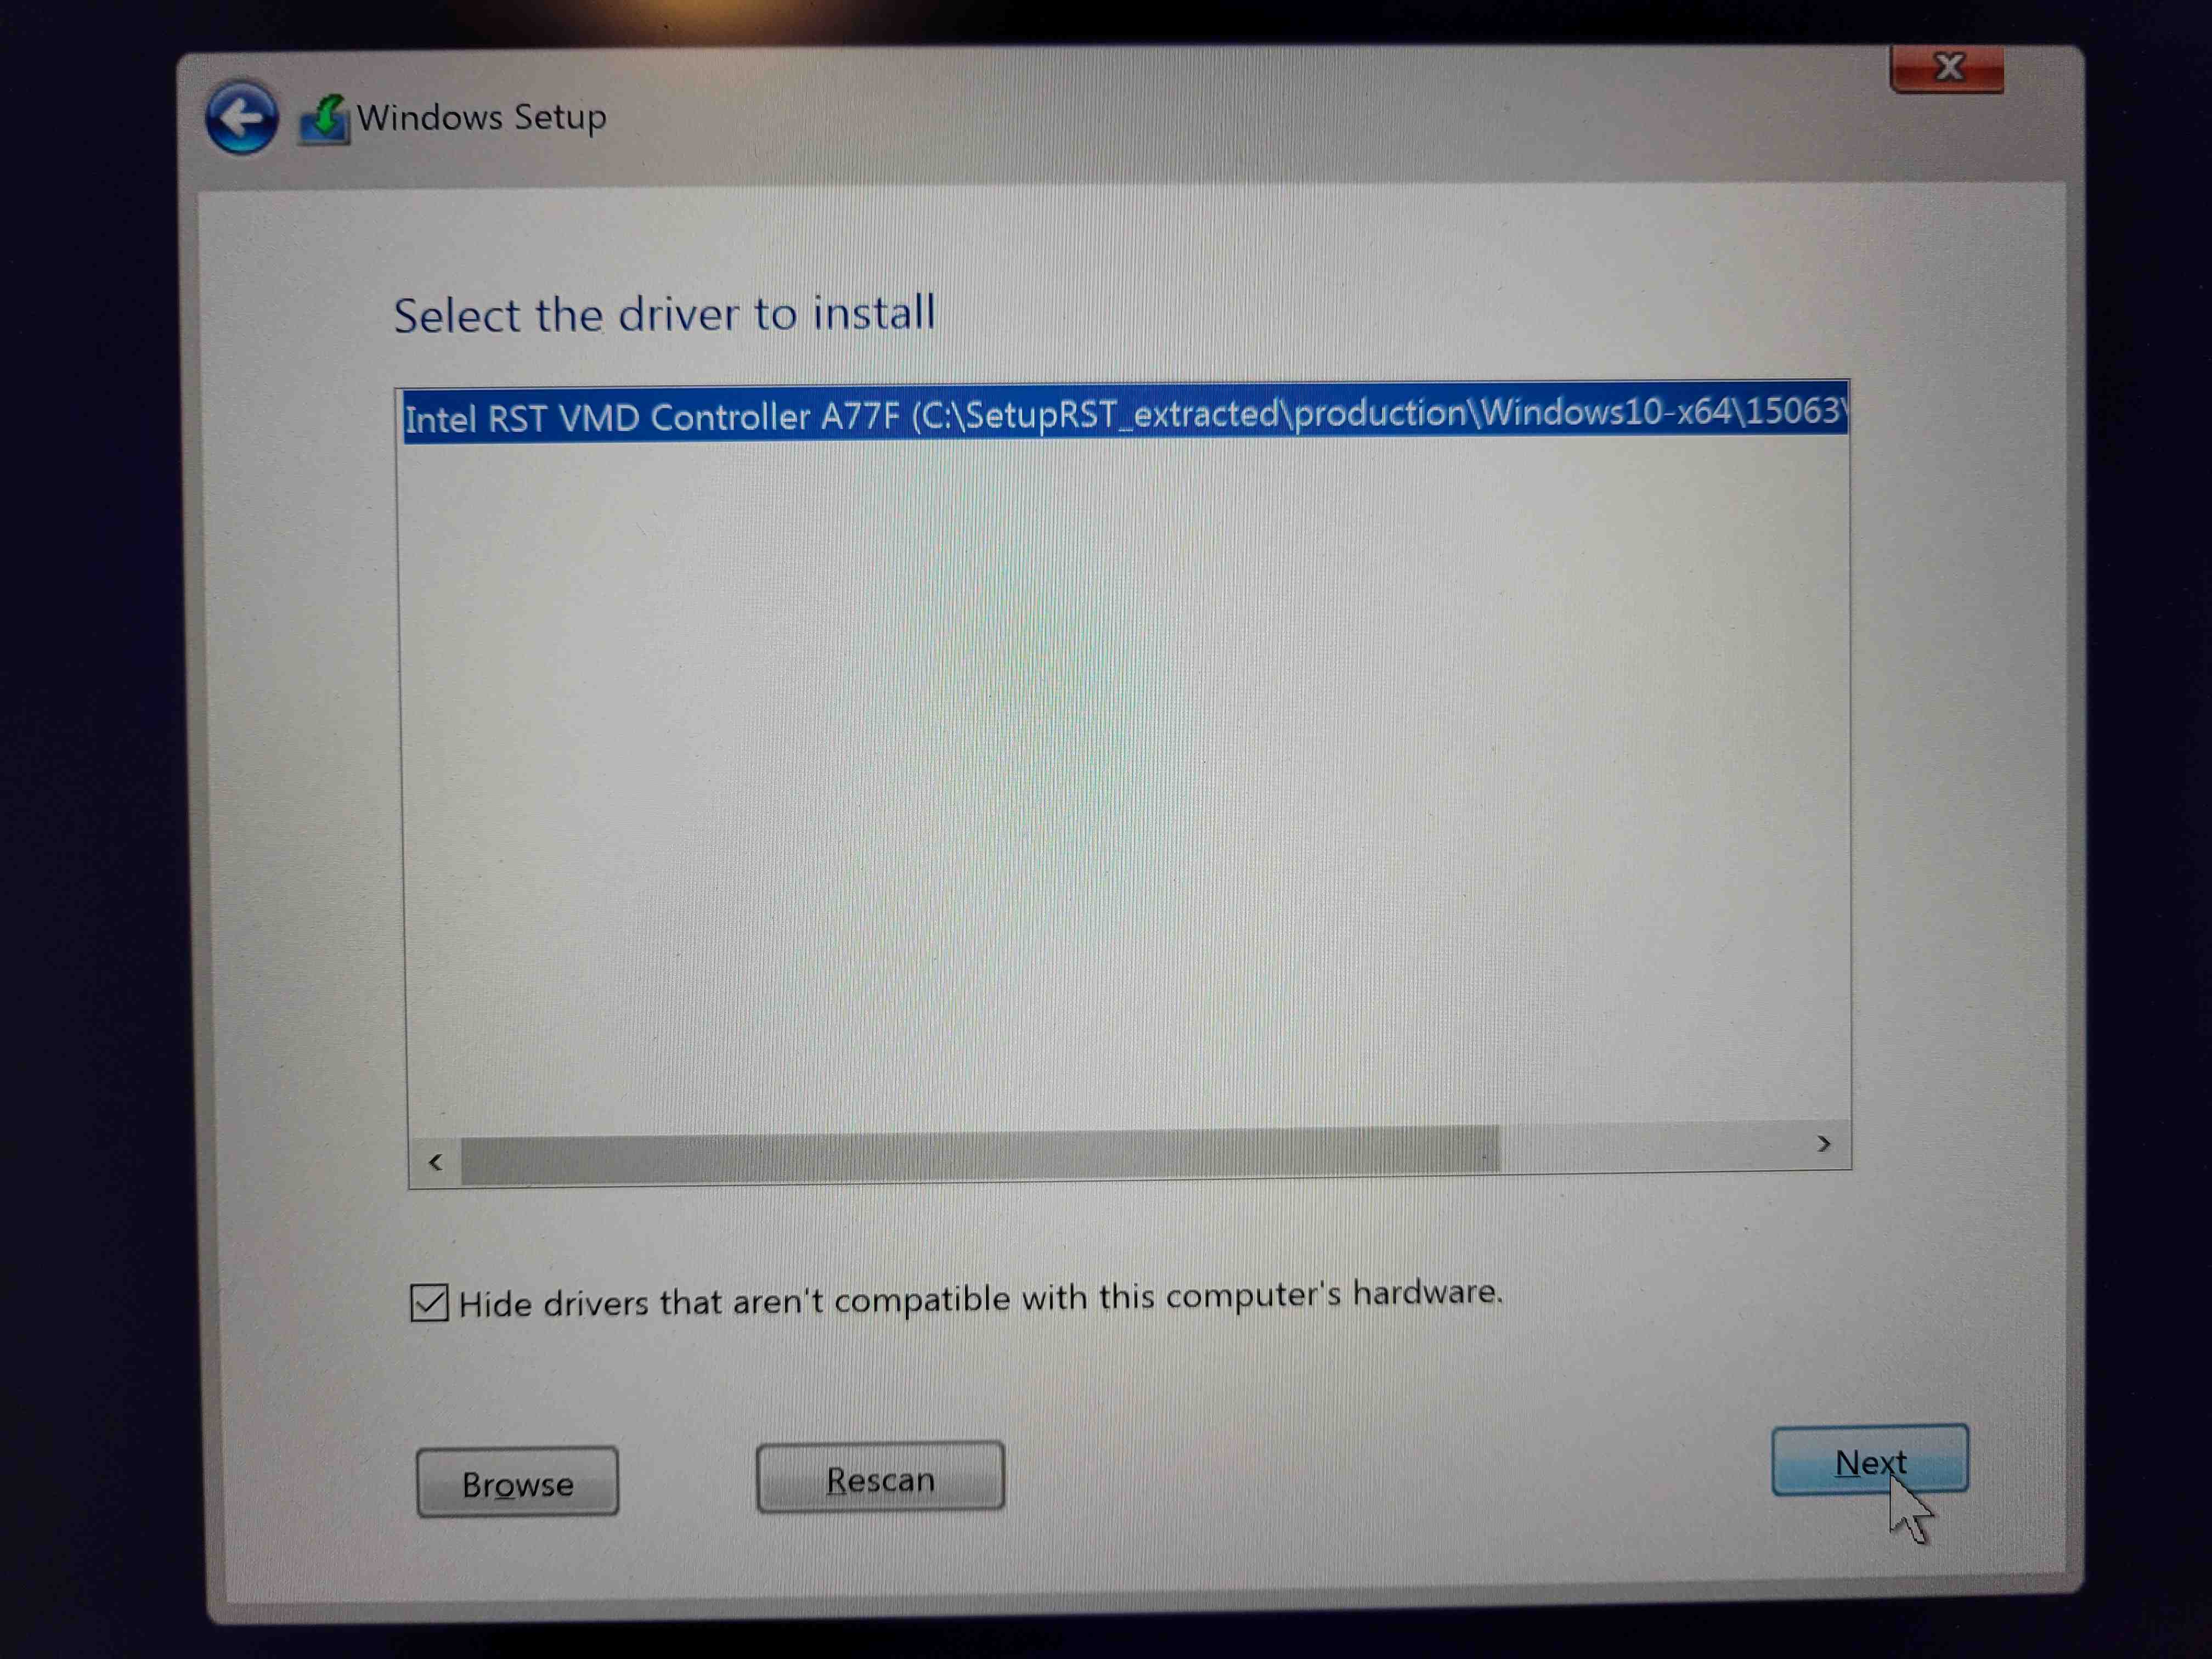
13. A list of drivers should appear. To see the driver that will work on your specific hardware, check the Hide drivers that aren't compatible with this computer's hardware box. You may only see one driver (usually the correct one) selected in the list. Once you've chosen the correct driver, click Next.
***If none of the listed drivers install correctly, cause an error message, or you don't see any compatible drivers listed, then you may need a specific one from your PC or motherboard manufacturer. You can typically find those on the manufacturer's respective website.***
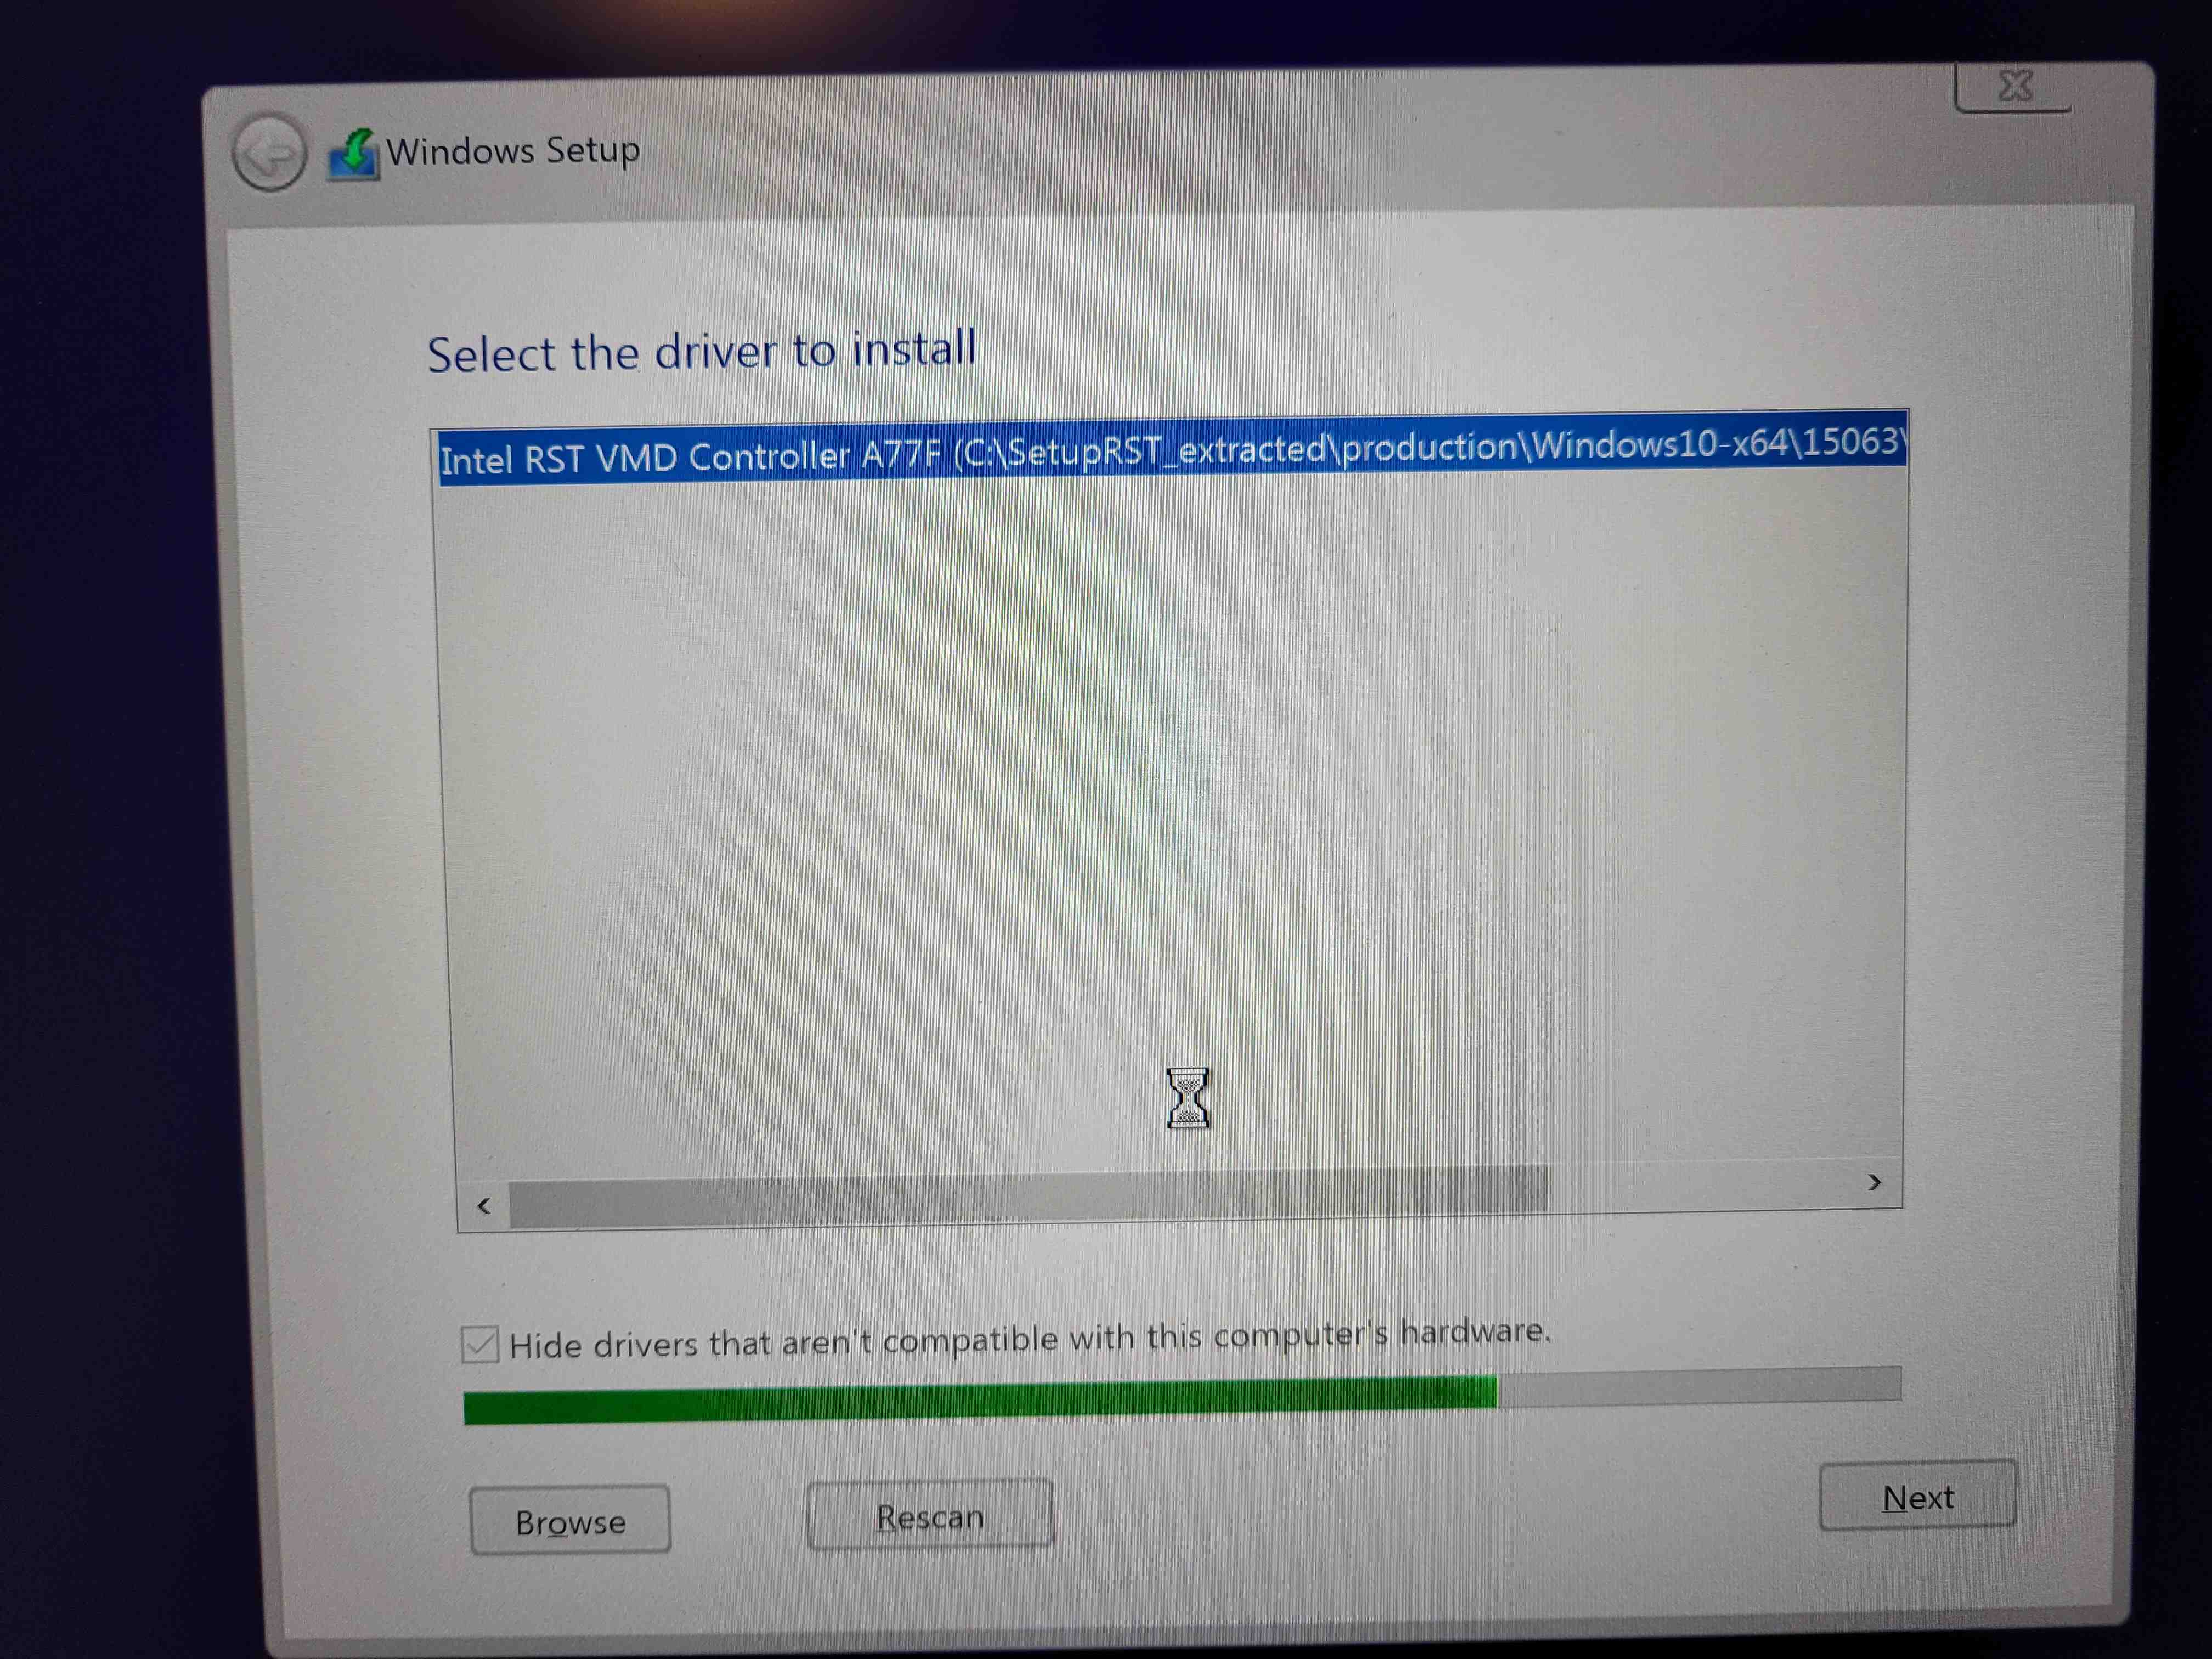
14. You will see a loading bar at the bottom of the window while the driver is installing, and the process may take a moment. When it is complete, you will see the disk selection screen again. If the driver installation worked correctly, you should see all the disk partitions on your internal drive.
You should then be able to install Windows as normal.
Last updated on April 17, 2025. (c) 2020-2025 Quinn9282 Productions.


